
Selenium and java for website automation
A game-changer for web-based automation testing is Selenium, the well-known open-source tool that automates web applications. Java is also a popular programming language with strong support for automation testing, which is useful when utilising Selenium. In this blog post, I’ll take you through the complete process of using Selenium with Java via to automate the website testing process and provide end users with high-quality software. Basically, the purpose of writing this blog post is to provide insightful knowledge and practical expertise with automation testing so that you can develop software that is high-quality and satisfies the needs of your clients.
Table of Contents
- Steps to install and setup Selenium with Java
- Step 1) Download and Install JDK (Java Development Kit)
- Step 2) Download Selenium Java Client Driver
- Step 3) Install and Setup Eclipse IDE
- Step 4) Add Selenium Java Client Driver to the project’s class path
- Step 5) Create a Maven-based Java Project in Eclipse IDE
- Step 6) Adding dependencies to Maven-based Java Project
- How to write selenium-java code with Eclipse IDE?
Steps to install and setup Selenium with Java
Step 1) Download and Install JDK (Java Development Kit)
- Visit Oracle’s website to download the most recent JDK version.
- On your computer, install the JDK package that you downloaded.
- Double-clicking the downloaded .exe file and start the installation process.
- The installation can be finished by following the on-screen directions.
- Select the place on your PC where you want the JDK installed because you will need to provide the installation directory.
- Setting the JAVA_HOME environment variable is required after installation is finished.
To configure Java’s environment variables on your computer, take the following actions:
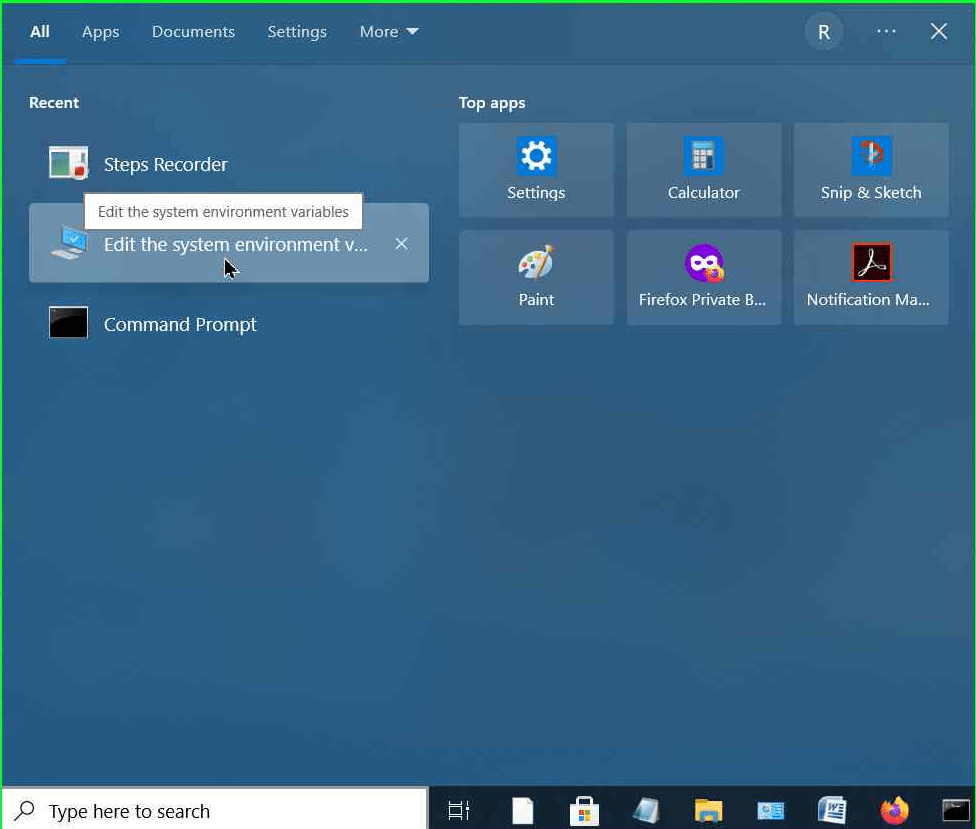
- Click the Start menu and type “Environment Variables” into the search box for doing this. Select “Edit the system environment variables” after that.
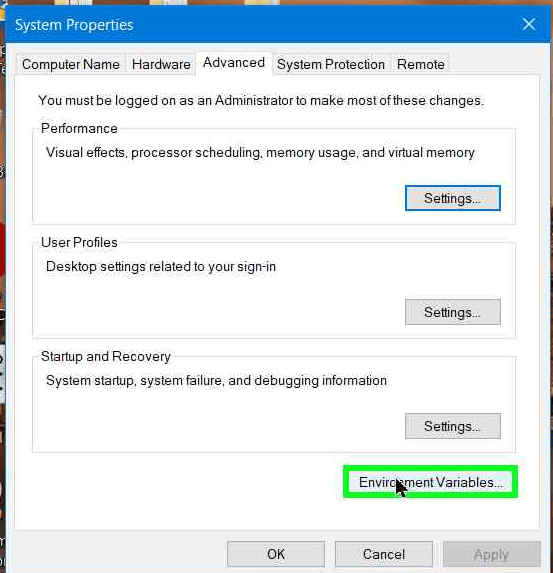
- Select “Environment Variables” from the “Advanced” tab at the bottom of the window.
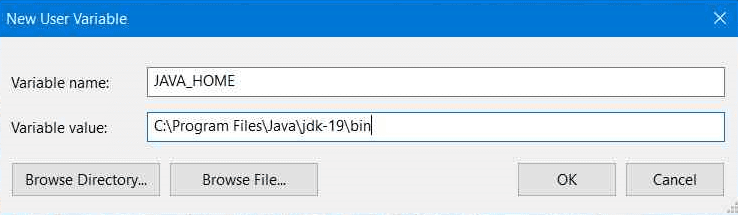
- Choose the path “C:\Program Files\Java\jdk-19\bin” or like find the Java Development Kit (JDK) installation.
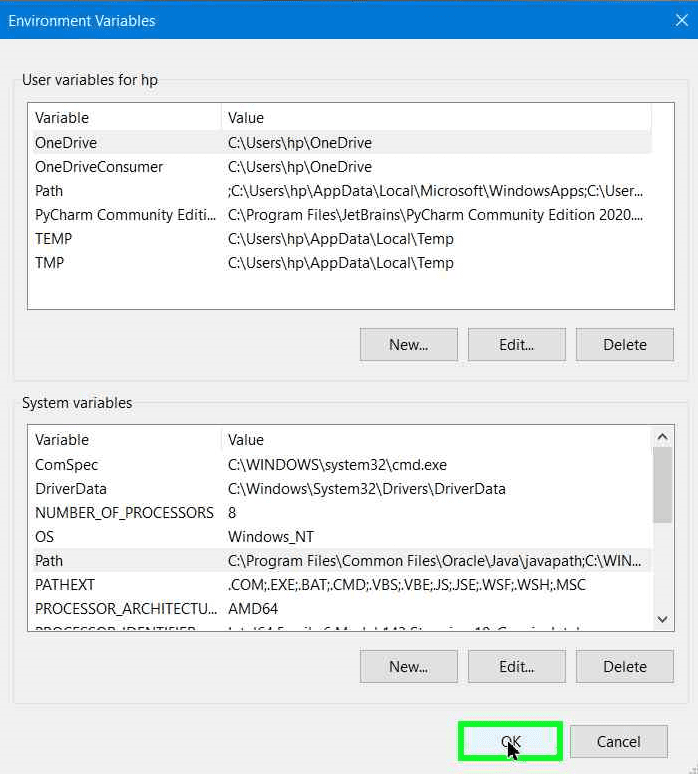
- Choose the “New” button located under the “System variables” part of the “Environment Variables” box that appears.
- In the “Variable value” field, insert the path of the JDK installation. If the “Path” variable is already there, change it by appending the JDK path, separated by a semicolon (;), at the end of the current value.
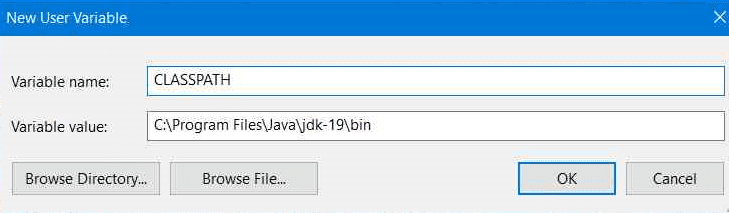
- Build a new environment variable called “CLASSPATH” and set its value to the JDK path that was used in step 4 to set the CLASSPATH variable. If the “CLASSPATH” variable is already there, change it by appending the Java Development Kit (path, separated by a semicolon (;), at the end of the current value.
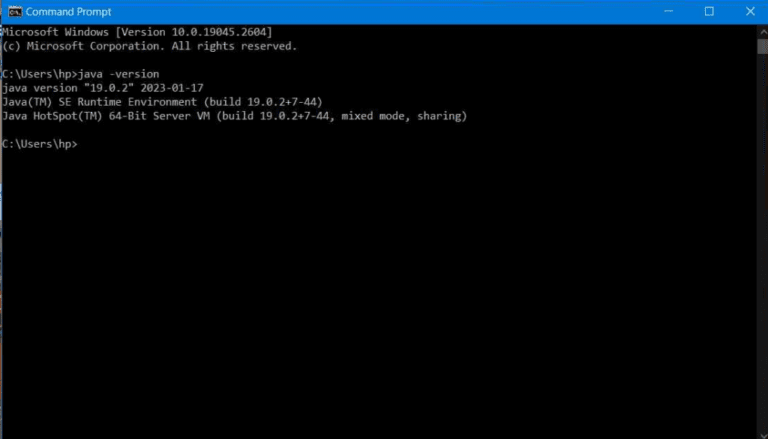
After completing these steps, your system’s Java environment variables ought to be configured correctly. Open the command prompt and type the command java –version to confirm that Java has been installed successfully. The installed Java Development Kit version ID will be shown by the command if Java has been installed correctly.
Step 2) Download Selenium Java Client Driver
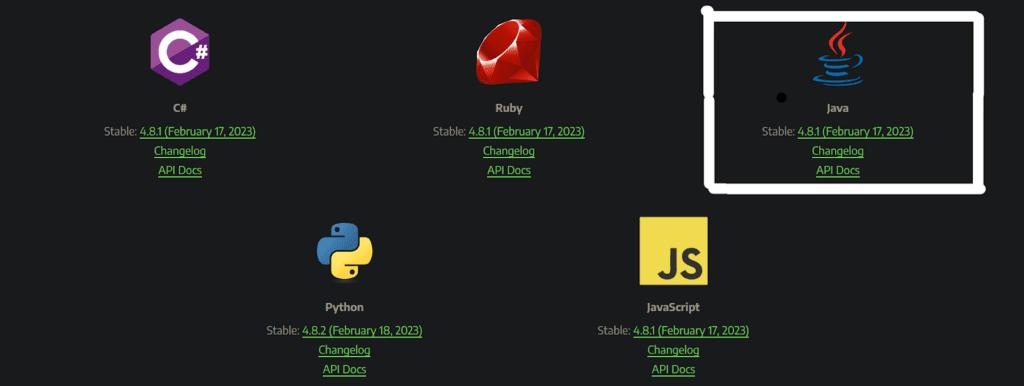
- Download the Selenium Client Driver for Java from the official Selenium website.
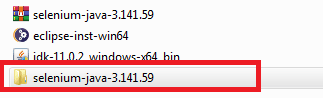
- Once downloaded, extract the archive file.
Step 3) Install and Setup Eclipse IDE
- Visit the official website to download the Eclipse installer by clicking on it.
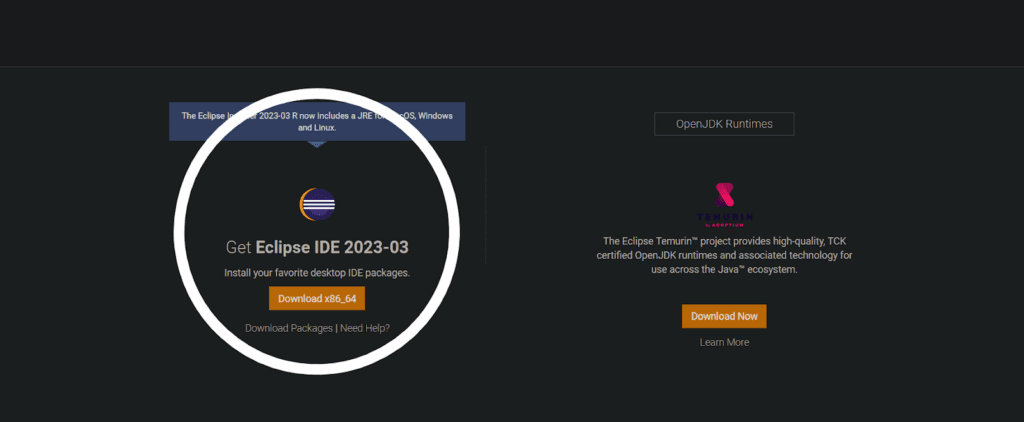
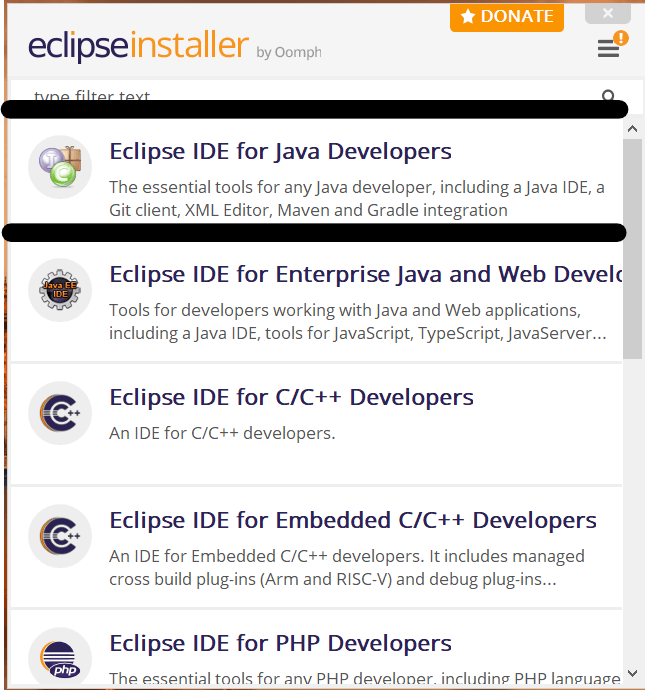
- Select ‘Eclipse IDE for Java Developers’.
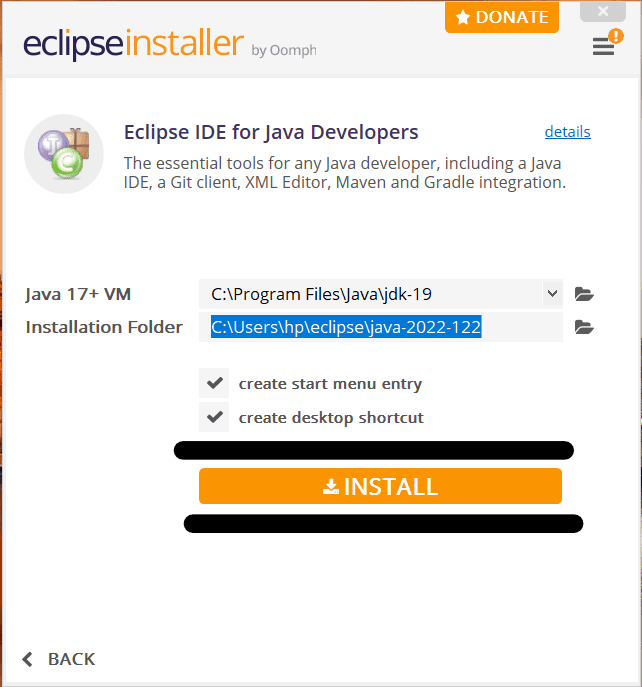
- Once you click the “Install” button, your download ought to begin.
- After the download is finished, click on launch button to open the Eclipse IDE.

Step 4) Add Selenium Java Client Driver to the project’s class path
- In Eclipse’s Project Explorer view, right-click on your project and choose “Properties” from the context menu.
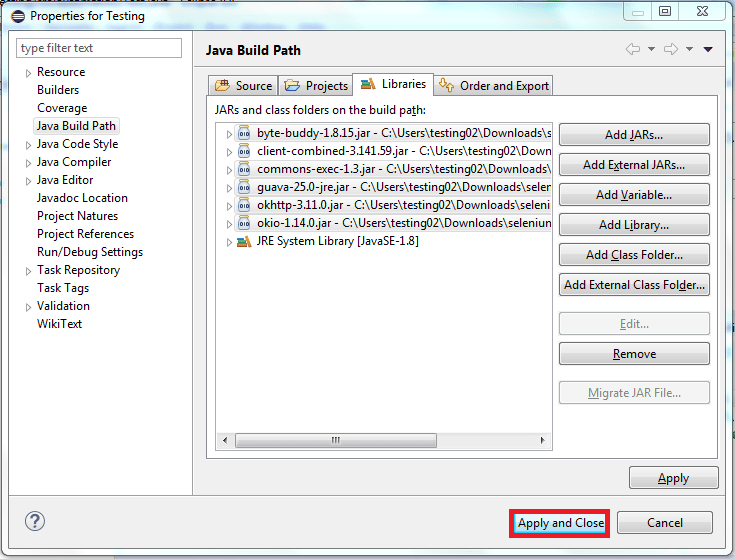
- Choose “Java Build Path” in the Properties dialogue box’s left pane.
- Select the tab labelled “Libraries.”

- Select the JAR file for the Selenium Java Client Driver that you downloaded in Step 2 by clicking the “Add External JARs” button.
- To access the client-combined jar file, click it once and select the “Open” option.
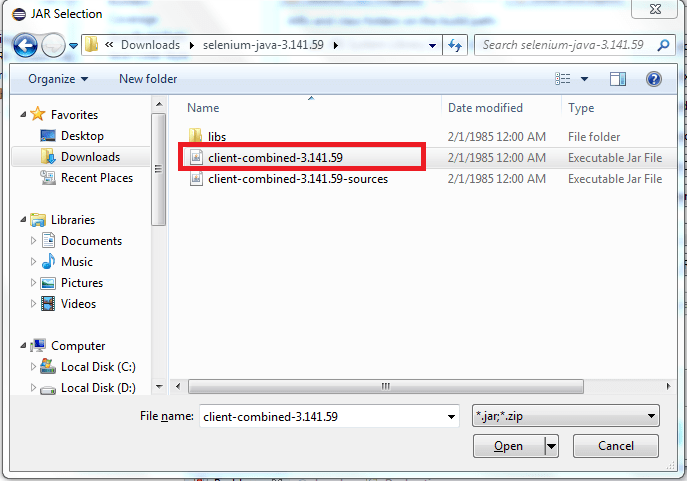
- Proceed to the folder containing the remaining jars you wish to include. Usually, this folder is referred to as “libs.” By clicking on each jar file in the “libs” folder while holding down the “Ctrl” key on your keyboard, you can select every one of them. To include every one of the chosen jar files in your project, click the “Open” button.
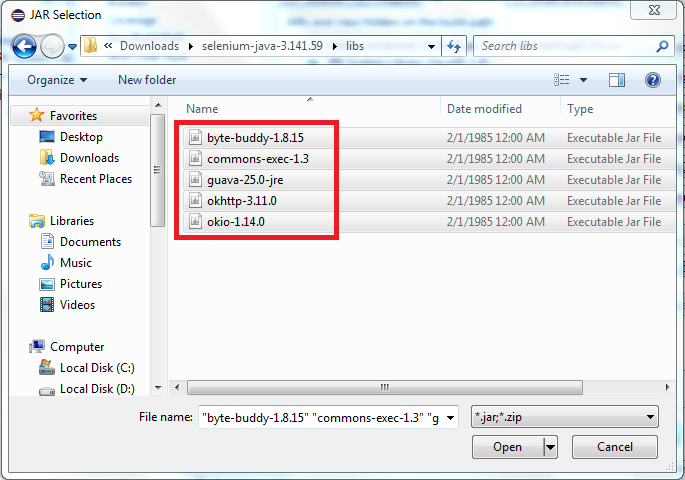
- To save the modifications and close the window after adding all the necessary jars, select “Apply and Close.”
Step 5) Create a Maven-based Java Project in Eclipse IDE
- Navigating to File > New > Other > Maven > Maven Project will launch a new Maven project.
- Choose “Create a simple project” from the list of options in the New Maven Project window and then click “Next.”
- Enter the Group Id and Artefact Id fields in the “New Maven Project” wizard in accordance with the specifications for your project, then click “Finish.”
- To create a new package, right-click on the project name in the “Package Explorer” window and choose “New” > “Package.”
- When you have given the package the name you want, click “Finish.”
- To build a new package, right-click on it and choose “New” > “Java Class.”
- Click “Finish” after giving the Java class the name that best suits your needs.
- By right-clicking on the project name and choosing “Maven” > “Update Project,” you can update the project’s dependencies and save your changes to the pom.xml file.
- Now that you have Selenium with Java installed, you can begin creating your automation test scripts.
Step 6) Adding dependencies to Maven-based Java Project
The more contemporary method of handling libraries is to add dependencies to your project using Maven rather than manually adding JAR files. To incorporate the Selenium Java Client Driver into your Maven project, take the following actions:
- Find the “pom.xml” file in Eclipse after opening your Maven-based Java project.
- If your pom.xml file lacks a dependents section; you will need to add one. All your project’s dependencies are included in this section. Inside the <project> tags, add the following code.
<dependencies>
<! – Dependencies will be listed here –>
</dependencies>
- The dependency for the Selenium Java Client Driver can now be added to the dependencies section. You can do this by adding the following code inside the <dependencies> tags.
<dependency>
<groupId>org.seleniumhq.selenium</groupId>
<artifactId>selenium-java</artifactId>
<version>4.1.0</version>
</dependency>
With a version of 4.1.0, an artefact ID of selenium-java, and a group ID of org.seleniumhq.selenium, this code defines the Selenium Java Client Driver dependency.
- After saving the pom.xml file, restart the project. Your maven-based Selenium with Java project should now have the dependency added.
How to write selenium-java code with Eclipse IDE?
To write Java code for Selenium using the Eclipse IDE, do the following:
- Launch Eclipse IDE and open the Selenium Java project.
- Click “New” > “Package” from the Project Explorer window when you right-click on the src folder to create a new package.
- After naming the package, select “Finish.”
- To create a new Java class, right-click on the package and choose “New” > “Class.”
- Click “Finish” after naming the class.
- At the start of your class, add the following import statements to import the required Java and Selenium packages.
import org.openqa.selenium.WebDriver;
import org.openqa.selenium.chrome.ChromeDriver;
- Prior to launching an instance of the WebDriver interface, add the following code to the Chrome Driver executable’s system property.
System.setProperty(“webdriver.chrome.driver”, “path/to/chromedriver.exe”);
- The path to your computer’s Chrome Driver executable should be substituted for “path/to/chromedriver.exe.”
- In the class’s main method, use the Chrome Driver class to create an instance of the WebDriver interface, then open a URL.
public static void main (String [] args)
{
System.setProperty(“webdriver.chrome.driver”, “path/to/chromedriver.exe”);
WebDriver driver = new ChromeDriver();
driver.get(“https://www.google.com”);
}
- By right-clicking on the class and choosing “Run As” > “Java Application,” you can save the file and launch it.
Conclusion
Hence, from the above discussion, I conclude this blog post by saying that Java and Selenium work well together to provide rapid and effective automated testing of web applications. Contact Precise Testing Solution and schedule an online consultation today. We have a professional team of automation experts with knowledge of popular automation tools like Selenium and programming language like Java that helps our clients in developing dependable and strong Selenium scripts so they can identify bugs in their web applications, thereby improving the user experience for our clients.
At Precise Testing Solution, we are a STQC empanelled independent software testing company in India with head office in Noida and branch presence in Hyderabad and the United States as well. For more information, visit our website at www.precisetestingsolution.com or call our office @ 0120-3683602. Also, you can send us an email at [email protected].
We look forward to helping your business grow!

How to Get Started with UFT Testing
How UFT Works Micro Focus created the robust and

How to Use JSON for Data Interchange
What is JSON JSON (JavaScript Object Notation) is a